Are you finding that the groupings from your crossbow arrows are consistently missing their mark? Do you think there might be a slight (or major) accuracy problem with your crossbow scope? If so, it might be time for an adjustment.
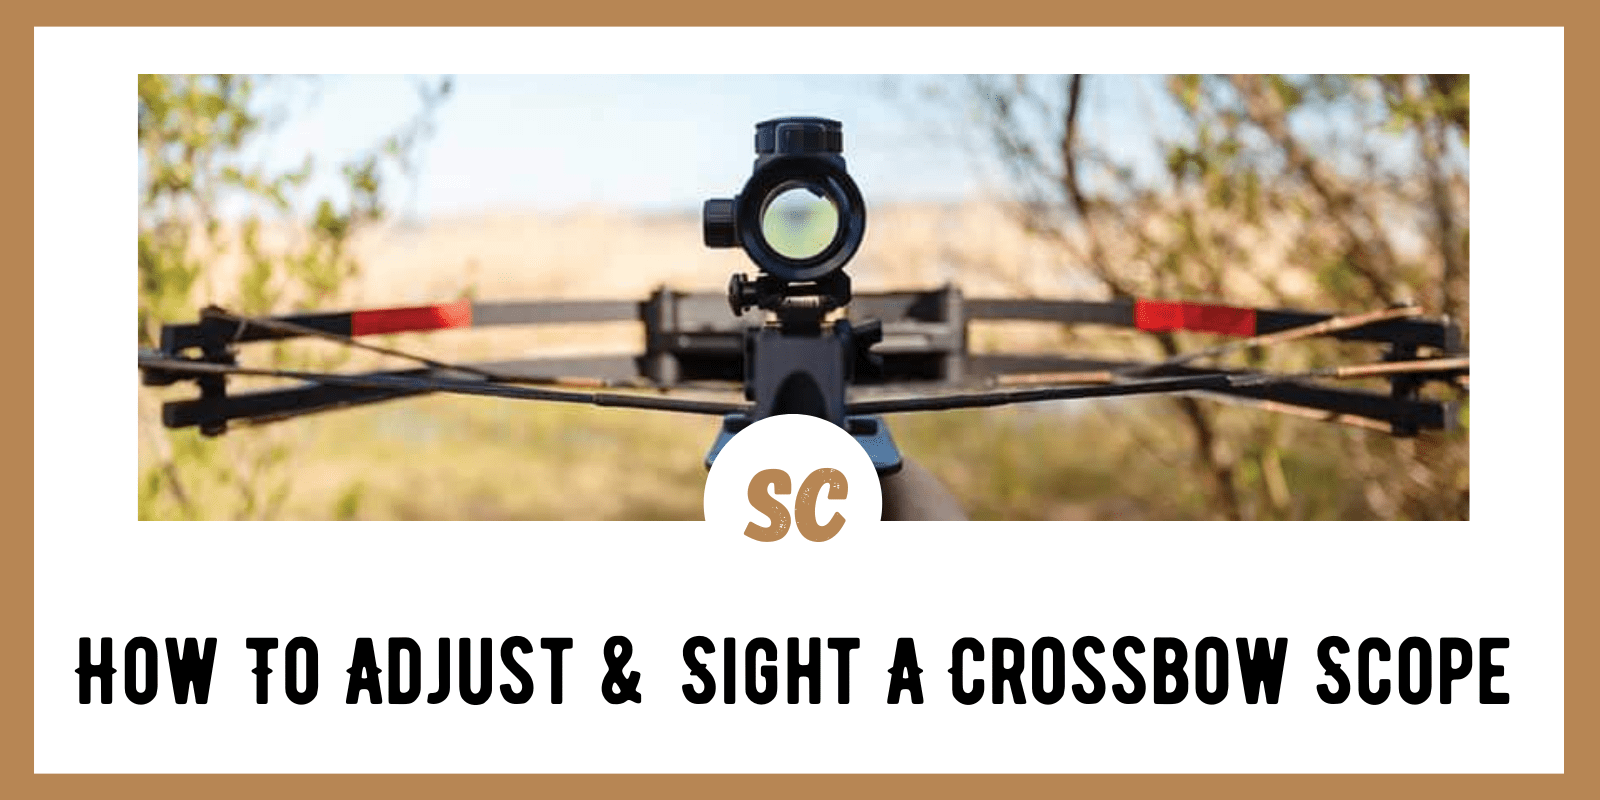
A crossbow scope can significantly aid your accuracy when shooting this popular weapon. However, unless that scope is sighted in properly your accuracy and precision may suffer greatly. To help you avoid this fate, in the following article we will instruct you on how to adjust and sight in a crossbow, detailing every step in the process to make it easy to understand and follow along.
SKIP AHEAD
About Crossbow Scopes
Whether you are a veteran bow hunter or a new archer just starting out, a crossbow scope can go a long way toward aiding your accuracy. However, one of the most difficult and often puzzling chores is sighting in that crossbow scope to ensure your aim is true.
The first step, of course, is to purchase a high quality scope from a very reliable manufacturer. With a cheaper scope, you may find that sighting in that tool is next to impossible, largely because it lacks the components that would otherwise make it reliable. Once you purchase a “true” scope, however, there are several steps you can take to make certain this sighting device is accurate and true—steps we will cover in detail in the following section.
What You Will Need
There are a collection of things—tools and such—that you will need when attempting to sight and properly adjust a crossbow scope. Among these are:
- Crossbow and Scope. At the ready, you should have your crossbow with the scope already mounted on it and aligned.
- Instructional Manual. The instructional manual that came with your scope will be a big help during this process.
- Screwdrivers. Be sure to have both flat-edge and Phillip’s head screwdrivers on hand to adjust the windage and elevation on your scope.
- A chronograph. A chronograph is an optional item that you may or may not need to test the velocity of your crossbow. After reading through this entire article you can decide if a chronograph is needed in your situation.
- Crossbow Rests. Be sure to have a crossbow rest, bipod or tripod handy.
- Arrows. You will need to shoot at least 4 arrows during this test to check your accuracy both before and after you adjust and sight in your crossbow scope.
- Targets. Make sure to have at least three paper targets at which to shoot when testing the accuracy of your scope.
- Binoculars. Having binoculars or a sighting scope handy will prevent you from having to physically walk over and check the accuracy of your arrows in relation to the target.
Sighting in the Crossbow
As you begin the process of sighting in your crossbow you will need to start with the following steps, performed in the following order:
- Setup Your Crossbow. Set up your crossbow at a distance that is exactly 20 yards away from your target. It is important that you measure the exact distance when sighting in the scope.
- Cock the Crossbow. Using a rope aid or some type of hand crank, cock your crossbow.
- Load an Arrow into Your Crossbow. Seat an arrow on the flight rail of your crossbow, making sure you have loaded it with the odd-colored feather down.
- Align Your Scope. In this very important step, you will want to align the top-most red dot or reticle in your scope with the bullseye on the target.
- Fire the Arrow. When shooting the arrow at the target, squeeze the trigger quickly using only the tip of your finger. We stress this proper form, as moving your entire palm or arm will negatively impact your accuracy.
After you have completed these very important steps, it is time to carefully approach your target (once all other shooting has ceased). You can also spot-up the target using binoculars or a sighting scope, which will save you a walk and ensure you remain out of the line of fire of other shooters at the range. Whether you use option 1 or option 2, what you will need to do is check whether or not the arrow you shot reached its intended target—or at least the paper that holds the target.
If your shot was slightly or wildly off, you are going to need to “boresight” your crossbow again. You will do this by looking down the first rail and aligning that rail with the ultimate target zone: the bullseye. Once you do this, the next step is to adjust the elevation and windage of your weapon in an attemot to get it nearer the bullseye. After completing this crucial step, fire three more arrows at your intended target.
Adjust Your Crossbow Scope for Windage and Elevation
In this next step of the process, you will be looking to adjust the windage and elevation of your crossbow scope. These adjustments will be based on how far off center you were with the three arrows you fired. Here are the steps for checking and adjusting for windage and elevation:
- Check Your Target. Carefully approach your target (when all firing has ceased), and estimate how many inches your arrow group would need to move for all of the arrows to hit the bull’s eye. For example, if your shots are 1 inch high and 2 inches to the right, you will need to adjust your scope down and to the left.
- Retrieve Your Arrows. After you have checked your arrows, retrieve them from the target and head back to where your crossbow is set up..
- Make Your Scope Adjustments. To complete this final step in adjusting for windage and elevation, you will need to rely on your instructional manual. First, remove the protective caps from the scope adjustment knobs. Once these are off, you can begin by making the appropriate changes based on your arrow groupings. You should follow the instructions that came with your scope when making these adjustments, but in most cases, a crossbow scope will move the arrow point-of-impact by 1/20″ for each click at 20 yards.
Fire Another Round of Arrows
Once you have made the necessary and appropriate adjustments on your scope—sighting it in and adjusting for windage and elevation, it’s time to fire another round (salvo) of arrows at the target. In doing this, you will again need to follow these easy steps:
- Prepare to Shoot. In this step, return to where your crossbow is set up—at an exact 20 yard distance from the target.
- Cock the Crossbow. Again using a rope aid or some type of hand crank, cock your crossbow. You will repeat this process with every arrow (3) you shoot.
- Load the Crossbow. Set an arrow on the flight rail of your crossbow and move it into a pre-shot position. You will also repeat this step with every arrow you shoot.
- Adjust the Crossbow Scope. In sighting in the crossbow scope, align the top most dot or reticle with the bullseye on the target.
- Fire Your Arrows. Using the same technique we described in detail above, fire a total of three more arrows at the target.
Once you have fired the three arrows at the intended target, you will once again need to check your grouping. Since you have since made adjustments to the scope for windage and elevation, you should discover that your arrows landed much closer to the bullseye this time around. Of course, you may find that you over-corrected a bit, or maybe didn’t correct enough (especially if you lost count of the clicks). However, once you return to your crossbow, you can always make further adjustments, as necessary, following the same steps we outlined above. Continue to repeat this process until your scope is perfectly sighted in.
Velocity Calibration
Many scopes on the market today—after-market scopes—offer what are known as range compensation reticles. However, for these to do you any good, they must be properly calibrated. To make sure you calibrate these markers correctly, you must program in the velocity of your crossbow when using the arrows of your choice. From there, the internals on your scope will do the rest. Never completely rely on the stated velocity of a crossbow, as stated by the manufacturer. These velocities are not always accurate and can thus mess up the calibration. If you have one of these markers on your after-market scope, simply follow these steps to measure the velocity of your crossbow and calibrate the range compensation reticles.
- Set up your chronograph. Using the user manual that came with your chronograph, set it up in a safe area.
- Fire an arrow. Fire an arrow through the chronograph and take note of the velocity.
- Fire three more arrows. Repeat step number 2 three more times, again taking note of the velocity each time you fire the arrow.
- Determine the average velocity. After you have fired the four arrows through the chronograph, add up each of these velocities and divide the sum by four (the number of arrows you shot). This will give you the average velocity.
- Set the velocity on your scope. Once you have determined the average velocity, dial that number into your scope’s velocity setting. If you do not know how to do this, refer back to the instruction manual that came with your scope.
Congratulations! You have now properly adjusted and sighted in your scope. Once it is sighted in, it should last you the entire hunting season, provided the scope is not dropped or damaged in some way. Always repeat this process at the beginning of every hunting season to ensure your scope continues to be sighted in properly.
image credit: https://www.crossbowproductions.com/ (flickr/Joshua Stockton CC 2.0)
