As the winter cold begins to give way to the warmth of spring and summer, millions of people worldwide turn their thoughts and attention to the activity of camping and the great outdoors. From the fresh air, to the intoxicating smell of pine trees to sleeping peacefully under a blanket of stars, there is no activity that can quite rival camping for all the great family fun and memories it provides.
Campfires—and cooking over those campfires—is another exciting rite of summer. Whether it’s the smell of the mountains and forests, the altitude or something else altogether, food cooked over a campfire just always seems to taste better than the same old grub served at home—even when it’s prepared poorly. The good news is there are many strategies available for improving the art of campfire cooking. From the type of fire you build to the wood you select to the utensils you use, these simple tactics can transform anyone into a quality outdoor chef in no time.
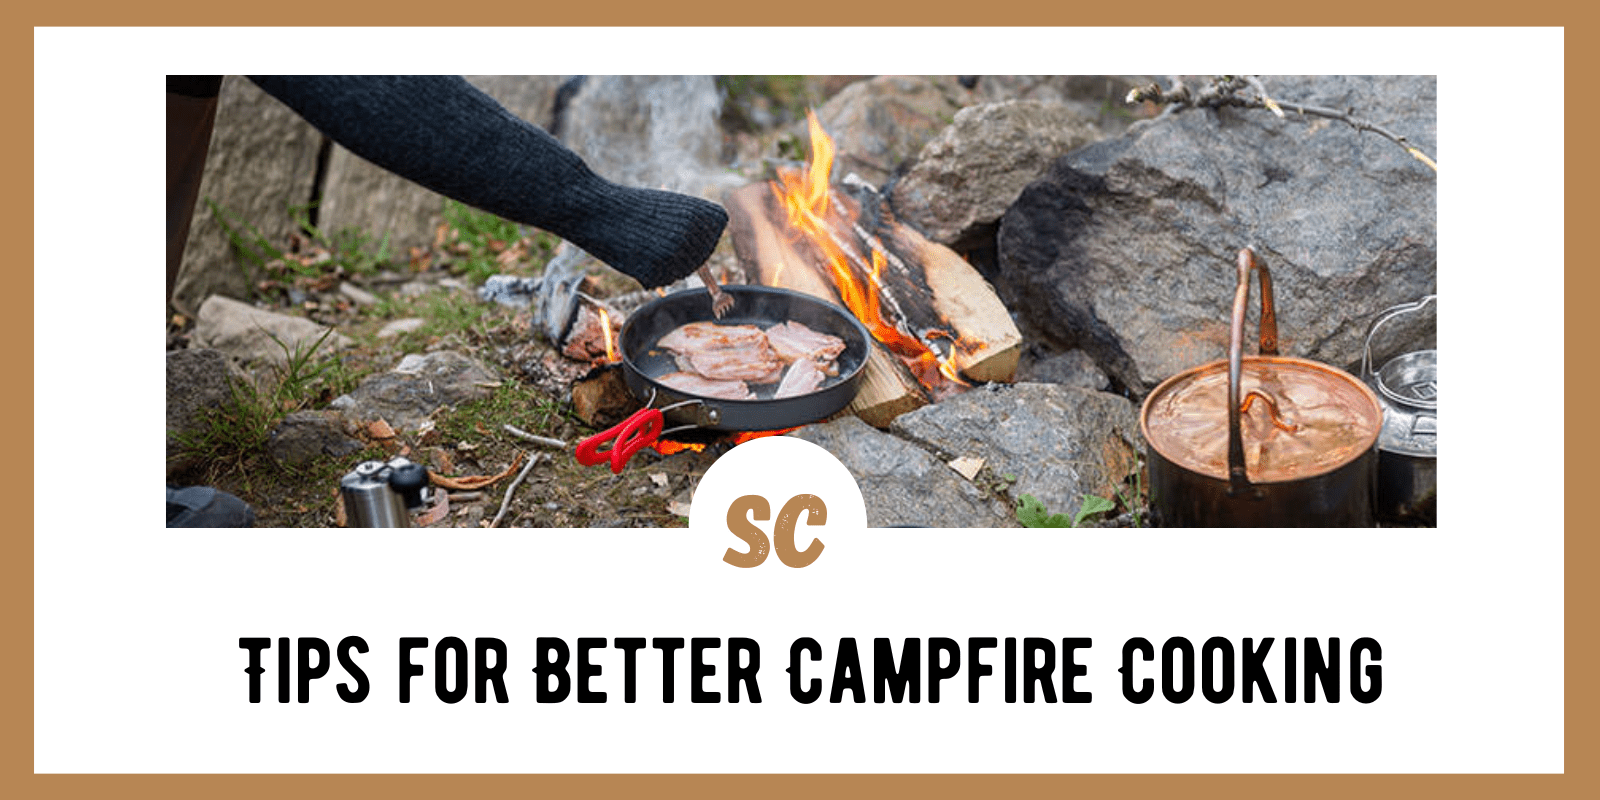
In the following article we have outlined a series of great tips for better campfire cooking, with a detailed explanation as to why you should employ this simple advice during your next big outdoor adventure.
SKIP AHEAD
Make it a Family (or Group) Affair
Building and cooking over a campfire can be a lot of work and a lot of fun at the same time. It is also an important skill that everyone should learn how to do—sooner rather than later—because you never know when you will have to employ that skill. Because of this, it is extremely important that you invite everyone to enjoy in the process. This especially includes the children in your group. It is never too early to learn how to build a successful campfire—a place where you can cook, and a skill that could one day be paramount to someone’s very survival.
Choose Your Spot Carefully
Although the majority of campsites in the United States are equipped with a designated fire ring for campfires and campfire cooking, that is not always the case. Many backwoods-style camping areas do not have fire rings, so you will have to build your own. Campfire rings generally measure about 18 to 30 inches in diameter, with the center of the ring dug out about 6 inches deep, and the remaining dirt pushed to the sides to form a barrier of sorts. You can also encircle the pit with rocks for better containment (and a place to warm your feet).
When selecting a spot for your campfire ring, make sure you choose a location in a clearing, away from any potential fuel like trees and shrubs. Also, avoid places where there are low hanging branches directly over the fire—where the embers can reach. Not only will this give you better/easier access to the fire pit, it will greatly reduce the likelihood of your evening campfire sparking a massive forest fire.
Selecting Your Wood
When selecting wood for your campfire, be certain that wood is completely dry. Wood that has been aged 6 months to a year is of course best, but in a pinch any type of dry wood will do. Wood that is wet—either on the outside or the inside from the sap—can produce noxious smoke that may ruin the taste of your food. Additionally, avoid wood that still contains the bark on the outside, as the bark from some trees inhibits fire, making the wood hard to catch.
The size of the wood you select for your “cooking campfire” is also important. There are essentially three types of wood you will use to build your campfire: tinder, kindling, and fuel or firewood. Tinder is the very, very small pieces of wood (and other material) you will use to initially start the fire. Very small twigs, newspaper, and even dryer lint can all work very well as tinder. The next size up is kindling, consisting of larger twigs and branches that will help create enough flame for the firewood. Any wood that is about 1 to 3 inches in diameter can be great kindling.
When selecting the firewood or fuel wood for your campfire, your best bet is to go with pieces that are about 3 inches to 4 inches in diameter—about the size of your wrist or forearm. Slightly larger pieces will do in a pinch, but these can be heavy and hard to manipulate. The wood should be cut into pieces about 10 to 12 inches in length. This will make it much easier to concentrate and control the bed of coals. Be sure to have at least 15-20 such pieces at the ready—even more for campfires that will last several hours.
What Type of Campfire Should I Build?
There are several schools of thought on the perfect campfire setup/build and the shape it should take on. However, for the purpose of this article we will merely focus on the two most popular types for cooking—the V-Shaped Campfire and the Teepee Shaped Campfire.
If your intention is to merely cook over your campfire—and extinguish it after the food has been prepared—we recommend you select a V-shaped campfire setup. Very simple in design, the V-shaped campfire begins with two pieces of firewood (about 3-4 inches in diameter) placed into a shape of a “V.” At the base, or bottom of the V, the wood should be about two inches apart; and at the top of the V, about 6-7 inches apart. To accomplish this shape you may have to dig the bottom portion of the firewood into the ground a bit to maintain the shape. In the center of the V, start by placing a small pile of your tinder. Once this is lit, add kindling to the middle until the two outer pieces are fully engulfed. This shape is ideal for cooking without a grill—directly over the fire—using a fire resistant container that can be placed right in the middle of the V shape.
If you plan to keep your campfire going throughout the meal and into the night—for roasting marshmallows, singing songs, etc.—the best campfire is the teepee shaped fire. Designed much like the name suggests, a teepee shaped fire begins with a small pile of tinder in the center. Next, begin placing the kindling wood—end on end—around the pile of tinder in the shape of a teepee. Once the fire is lit, you can slowly start adding firewood to the outside of the teepee, no more than two pieces at a time—to avoid creating flames that are unmanageable.
Know When to Cook
One of the keys to great cooking on a campfire is knowing when to begin cooking. Many people make the mistake of beginning the cooking process too early—when there are lots of flames and very few embers. In doing so, they usually wind up with food that is burned on the outside and grossly underdone on the inside. According to experts, the ideal time to begin cooking is when the fire is about 50 percent extinguished. Here you will want to look for a low and glowing flame, with lots of heat underneath. A good rule of thumb is to treat your campfire like you would a bed of charcoal on the family grill—cooking when there is less flame but more heat.
The Right “Stuff”
“Stuff” can mean a lot of different things, but in this case we are of course talking about your cooking gear. There are certain materials that should always be avoided when cooking over an open flame. Plastic containers and utensils are a definite no-no, as plastic will melt over flame and high heat. Rubber, too, is never recommended. Instead, choose pots and pans made entirely of metal, with no rubber on the handles. Metal utensils, like spatulas and stirring spoons, are also recommended. Cast iron cookware is great for camping. Despite its weight, a cast iron skillet or Dutch oven tends to retain and distribute heat evenly, and will keep food items hotter longer.
Skewers are very useful in campfire cooking. But here again, metal skewers are probably the most easy and beneficial type to use. Always avoid plastic skewers, but wood skewers, as long as they have been soaked in water for up to an hour to prevent them from catching fire, are usually okay.
When removing pans and pots from a campfire using oven mitts or towels, be very careful that you don’t accidentally light these items on fire—or you may be in for a trip to the emergency room. There are many handy camping products on the market today that are designed specifically for this purpose. If you don’t mind shelling out a few bucks, these “pot grabbers” can be very beneficial.
How to Cook When Camping
How you plan to cook over an open campfire is entirely up to you, but it will of course depend on “what” you plan to cook. From cooking over a campfire-ready grill to skewer-type cooking to cooking directly in the fire, there are many different ways to prepare your food for chow time. Below we have listed our recommendations for how to cook several different favorite campfire standbys.
- Cooking with a Grill—if you plan to cook items such as hamburgers or steaks or even vegetables we recommend you place a grill of some sort over your campfire for best results. In doing this, you can still get the smoky flavor of the fire without risking burning the meat. Fish can also be cooked using a grill, but we recommend you first cover the fish in foil. Pancakes and bacon can be cooked over a grill that has first been covered with aluminum foil, as can anything cooked in a pan like eggs, veggies and even hot cereals.
- Cooking with Skewers. There is nothing that compares to something cooked with skewers over an open flame. This method can be best employed to things like hot dogs and marshmallows, some veggies and other meats. Be sure to use a long metal skewer—long enough to prevent you from getting too close to the flames.
- Cooking “in” the Fire. For those who want the true pioneer experience, cooking foods directly in the fire cannot be beat. Of course, when doing this, you will want to use a metal pot with a locking lid if possible. This will prevent ashes from getting into the food and possibly ruining the experience. Items to cook directly in the fire include things like beans, stews and soups. And there is nothing like coffee that is warmed up on a hot morning campfire.
Foods to Avoid
While almost anything you can think of can be cooked over an open campfire, there are some food items you may want to avoid. Naturally, thing like baked goods, which require very even heat even in the best cases, should be left to your home oven—besides, those S’mores will do wonders for your evening sweet tooth. Things that require frying are also not generally recommended when using an open flame, especially when they call for any oil. Oil splatters—and oil fires—are bad enough in the kitchen, but they can be absolutely catastrophic in the wilderness, where this are tons and tons of fuel all around.
Preparation and Food Safety
Whenever you are working with perishable food items, which are generally defined as any product that must be frozen or refrigerated to maintain its integrity, you must be careful. However, people do tend to be a bit lazier about food safety when camping in the wild than they would otherwise be in the security of their home. This is a mistake, as all the same rules still apply.
When packing perishable food items for your outdoor excursion make sure they are kept continuously refrigerated until it is time to prepare them. This goes for any kind of meat or poultry—including lunch meat—all the way up to things like mayonnaise, which can become toxic if left out in the sun. Be sure to replenish melted ice in your cooler and to lay perishable items under the ice for best results.
When preparing the meat, make sure to clean up after yourself using hot soapy water if possible, and keep all food preparation sites—and food serving sites—free of harmful germs and bacteria. Always cook meat to the designated temperature listed on the packaging to avoid contamination.
Extinguishing Your Campfire Safely
After all the cooking and entertainment your campfire has supplied you, eventually—and sadly—you must ultimately extinguish it for safety purposes. In doing this, begin by breaking up any larger logs (as best as you can) to uncover any burning embers deep within the wood. Use an ample amount of water on the fire—one to two gallons—and keep adding water until no smoke is rising from the fire pit. Once the fire is completely extinguished, cover the ashes with dirt.
Cooking over a campfire is not only a great skill to learn, but a wonderful way to prepare a variety of dishes. These tips, from choosing the right wood and utensils to selecting the correct cooking method for certain foods, can go a long way in helping you master the art of campfire cooking, and might just make you the star of your next big camping trip.
More resources:
image credit: SimpleFoto/Deposit Photos
