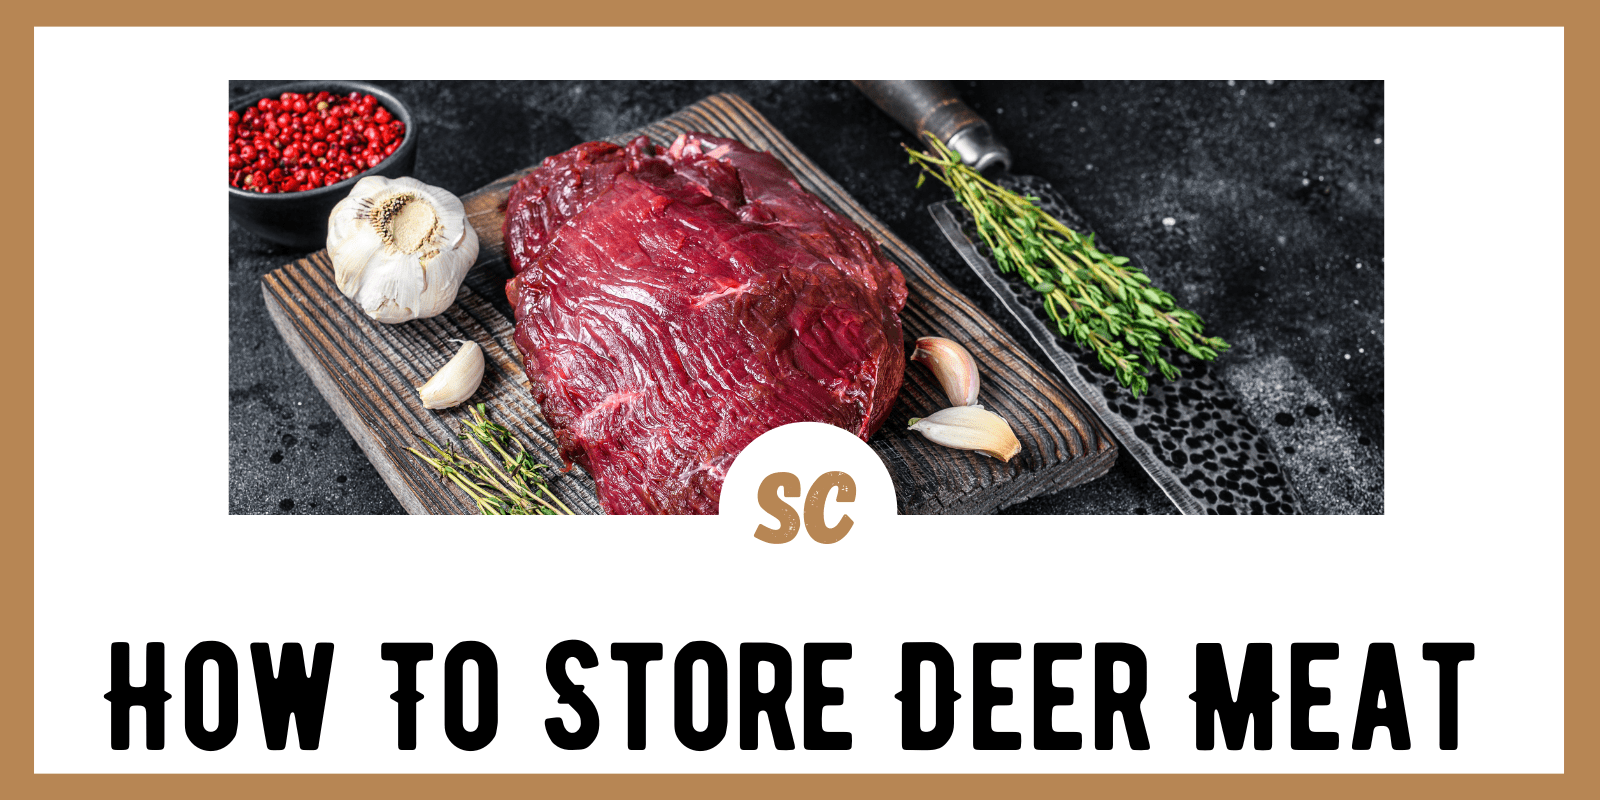
Deer meat, commonly referred to as venison, is an important staple for many families and individuals in certain parts of the country and world. This delicious meat source can be a real treat when handled and stored properly, and fortunately, there are a number of ways you can do this.
In this article we will discuss the many different ways in which to store venison, from short term methods like refrigeration to long term storing strategies for deer meat, including freezing and canning.
SKIP AHEAD
Refrigerating Deer Meat
If you plan to consume the deer you harvested in roughly one to three days after the kill you could of course just refrigerate the part of parts of the deer you plan to cook. If you choose this method of storage, it is very crucial that you field dress the animal properly and very carefully. Failing to field dress your venison correctly can lead to contamination of the meat and contamination is one of the most common errors hunters make.
When refrigerating venison, it is imperative that you do it as soon as possible for the best possible results. Experts say the venison should be refrigerated within 3 to 4 hours of field dressing, even sooner if the air temperature is above 45-50 degrees. Doing so will reduce the chances of spoilage.
Aging Deer Meat
If you dislike meat that is very tough, or if you simply find the gamey taste of venison slightly unappetizing, you may want to age the deer meat for a while before you consume it. Aging your deer meat will help dissipate the gamey taste of the meat and will allow natural occurring enzymes to go to work tenderizing the meat tissues.
If you intend to age your venison, you should definitely start the process right after you field dress the animal—or within about 5 hours after the kill. Deer meat should be aged whole, before it is butchered, for best results. However, if you plan to cut the meat before aging you will need to do so within 24 hours of the kill.
To age the meat, you will want to hang it (or place it) in a cool, temperature-controlled room in which the temperature is anywhere from about 32 degrees F to 35 degrees F. The venison should be aged between 7 and 10 days, at which point it can be served, frozen, or stored using different methods that we will get to later. Never try aging venison at room temperature, as this will lead to rapid spoilage. In fact, using improper storage facilities is the number one reason for venison spoilage.
Freezing Deer Meat
If you want to keep your venison safe for consumption for long periods of time, your best bet is to freeze the deer meat until you are ready to eat it. To ensure you do this properly and with the best results, try to follow the checklist below for correctly freezing venison.
- Butcher the deer. After the deer has been field dressed, the next step is to butcher the deer into the desired pieces of meat. If you have never butchered a deer before you may want to ask an expert to do it for you, although there are many how-to websites out there that can walk you through the process.
- Trim the fat from the meat. It is very important that you trim the fat off of the deer meat before freezing. This can be a laborious process but it is well worth it in the end. The reason we say this is because fat will go rancid much quicker than the meat. That rancid fat can then literally ruin the meat to which it is attached. Fat also contains most of the “gamey” taste that turns some people off of eating venison and other game.
- Wrap the various cuts of meat in plastic. When wrapping the various cuts of meat you have prepared, be sure to use freezer wrap or packaging made for freezer use. Simply put, the better the packaging the better the venison will be preserved. For best results, you will first want to wrap the meat very tightly in plastic wrap. This will keep as much air out as possible. If you have a vacuum sealer and the required vacuum-packed bags, these would be ideal for this process, but plastic freezer wrap will work in a pinch.
- Wrap the various cuts of meat in butcher paper. After the venison has been wrapped in plastic or sealed using vacuum-packed bags, the next step is to wrap the meat with butcher paper. Butcher paper—the type that is made for use in the freezer—is both moisture-proof and vapor-proof, preventing moisture from getting into the meat and preventing any of the vapors from escaping. In the end, this will lead to better preserved meat that can remain in the freezer for longer periods of time. Be sure to seal the butcher paper very thoroughly using moisture-resistant tape.
- Label and date the meat. Once the venison is tightly wrapped in plastic and then butcher paper, you will want to label and date each of the packages. Labeling the packages will allow you to choose just the right cuts of deer meat for the dish you are planning to prepare without having to unwrap each package and look within. Dating the packages will, of course, allow you to monitor how long each package has been in the freezer.
- Place the deer meat in the freezer. After completing all of the freezer preparation steps you will need to quickly put the packages of venison into the freezer. Deer meat should be frozen at 0 degrees F or below. Take extra care that you do not freeze more than 4 cubic pounds of meat per cubic foot of freezer space within a 24 hour period. If your home freezer does not have the space to allow you to freeze the venison in this manner—to spread the packages out—you should take the wrapped meat to a processing plant or meat locker for quick freezing.
There are certain time restrictions for freezing. For example, when freezing ground venison, you should freeze the meat at 0 degrees F or colder for no more than 3-5 months.
For heartier cuts of venison, such as venison roasts and steaks, you should freeze at the same temperature, but these cuts can last in the freezer for between 6 and 12 months.
One thing to remember is that the quality and flavor of deer meat will deteriorate over time in the freezer, especially if all the proper steps are not observed.
According to experts, “correct dressing, handling, packaging, quick freezing and colder freezer temperatures will help maintain meat quality for the longest period of time.”
When you are ready to eat the venison you have frozen, be sure to thaw the meat thoroughly before cooking. This thawing process should be done in the refrigerator or by using the “thaw” setting on your microwave. Never thaw at room temperature as this can lead to a myriad of problems.
Canning Venison
Canning is another way to store venison. If you elect to can some of the deer meat you have harvested, be sure to choose high quality pieces of meat and chill them first in the refrigerator. Remove any excess fat that can jeopardize the taste of the meat, and then soak the small pieces in a brine solution for one hour. This brine solution should contain 1 tablespoon of salt per quart of water. Once the meat has soaked for an hour, carefully rinse it and remove any large bones.
Venison can be canned in one of two ways: the hot pack and the raw pack. The hot pack is the preferred method for achieving the best liquid cover and quality during storage. That’s because the natural amount of fat and juices in today’s leaner meat cuts are usually not enough to cover most of the meat in raw packs.
Hot Pack Canning
When choosing the hot pack canning method, you will need to precook the deer meat until rare by roasting, stewing, or browning in a small amount of fat. Once cooked, add 1 teaspoon of salt per quart to the jar, if desired. Fill jars with the pieces of venison and add boiling broth, meat drippings, water, or tomato juice, (especially with wild game), leaving 1-inch headspace at the top. Then, adjust the lids as you would when canning any other foods.
Raw Pack Canning
In raw pack canning you will need to add 2 teaspoons of salt per quart to every jar you intend to use. This will help the taste and preservation of the meat. Then, carefully fill the jars with the raw meat pieces, leaving 1-inch of headspace. Do not add any additional liquid. Next, adjust the lids as you would when canning any other foods.
These are just a few of the methods for storing the deer meat you have harvested—methods that will ensure you can enjoy the meat throughout the year. Other potential storage methods include making sausage, curing the meat, and even dehydrating deer meat as a way to make delicious venison jerky.
image: FotoosVanRobin from Netherlands [CC BY-SA 2.0], via Wikimedia Commons
